
In this post, we’re going to perform a push button refresh of an Oracle Database, Application Express (APEX) installation, and Tomcat webserver.
“But Oracle Alchemist,” you’re probably thinking, “we know about that. You’ve told us about how Delphix can provision and refresh data.” And yes, you’d be right. But I wasn’t done yet.
We’re going to perform a refresh of an Oracle Database, APEX installation, and Tomcat running in Amazon Web Services, replicated from a local Delphix Engine, by pressing a physical button wired to a Raspberry Pi running a python app that communicates with the Delphix REST API in the cloud over wifi.
We’ll go over technical details and the Python code right after the video. Make sure you check it out so you can watch me excitedly press the button. I even did a refresh from Starbucks.
I Like Pi
I’ve wanted a Raspberry Pi for a long time now, and for whatever reason never got around to buying one. I finally did last week, and let me tell you this thing is such a beautiful little device, I nearly fried the logic board by we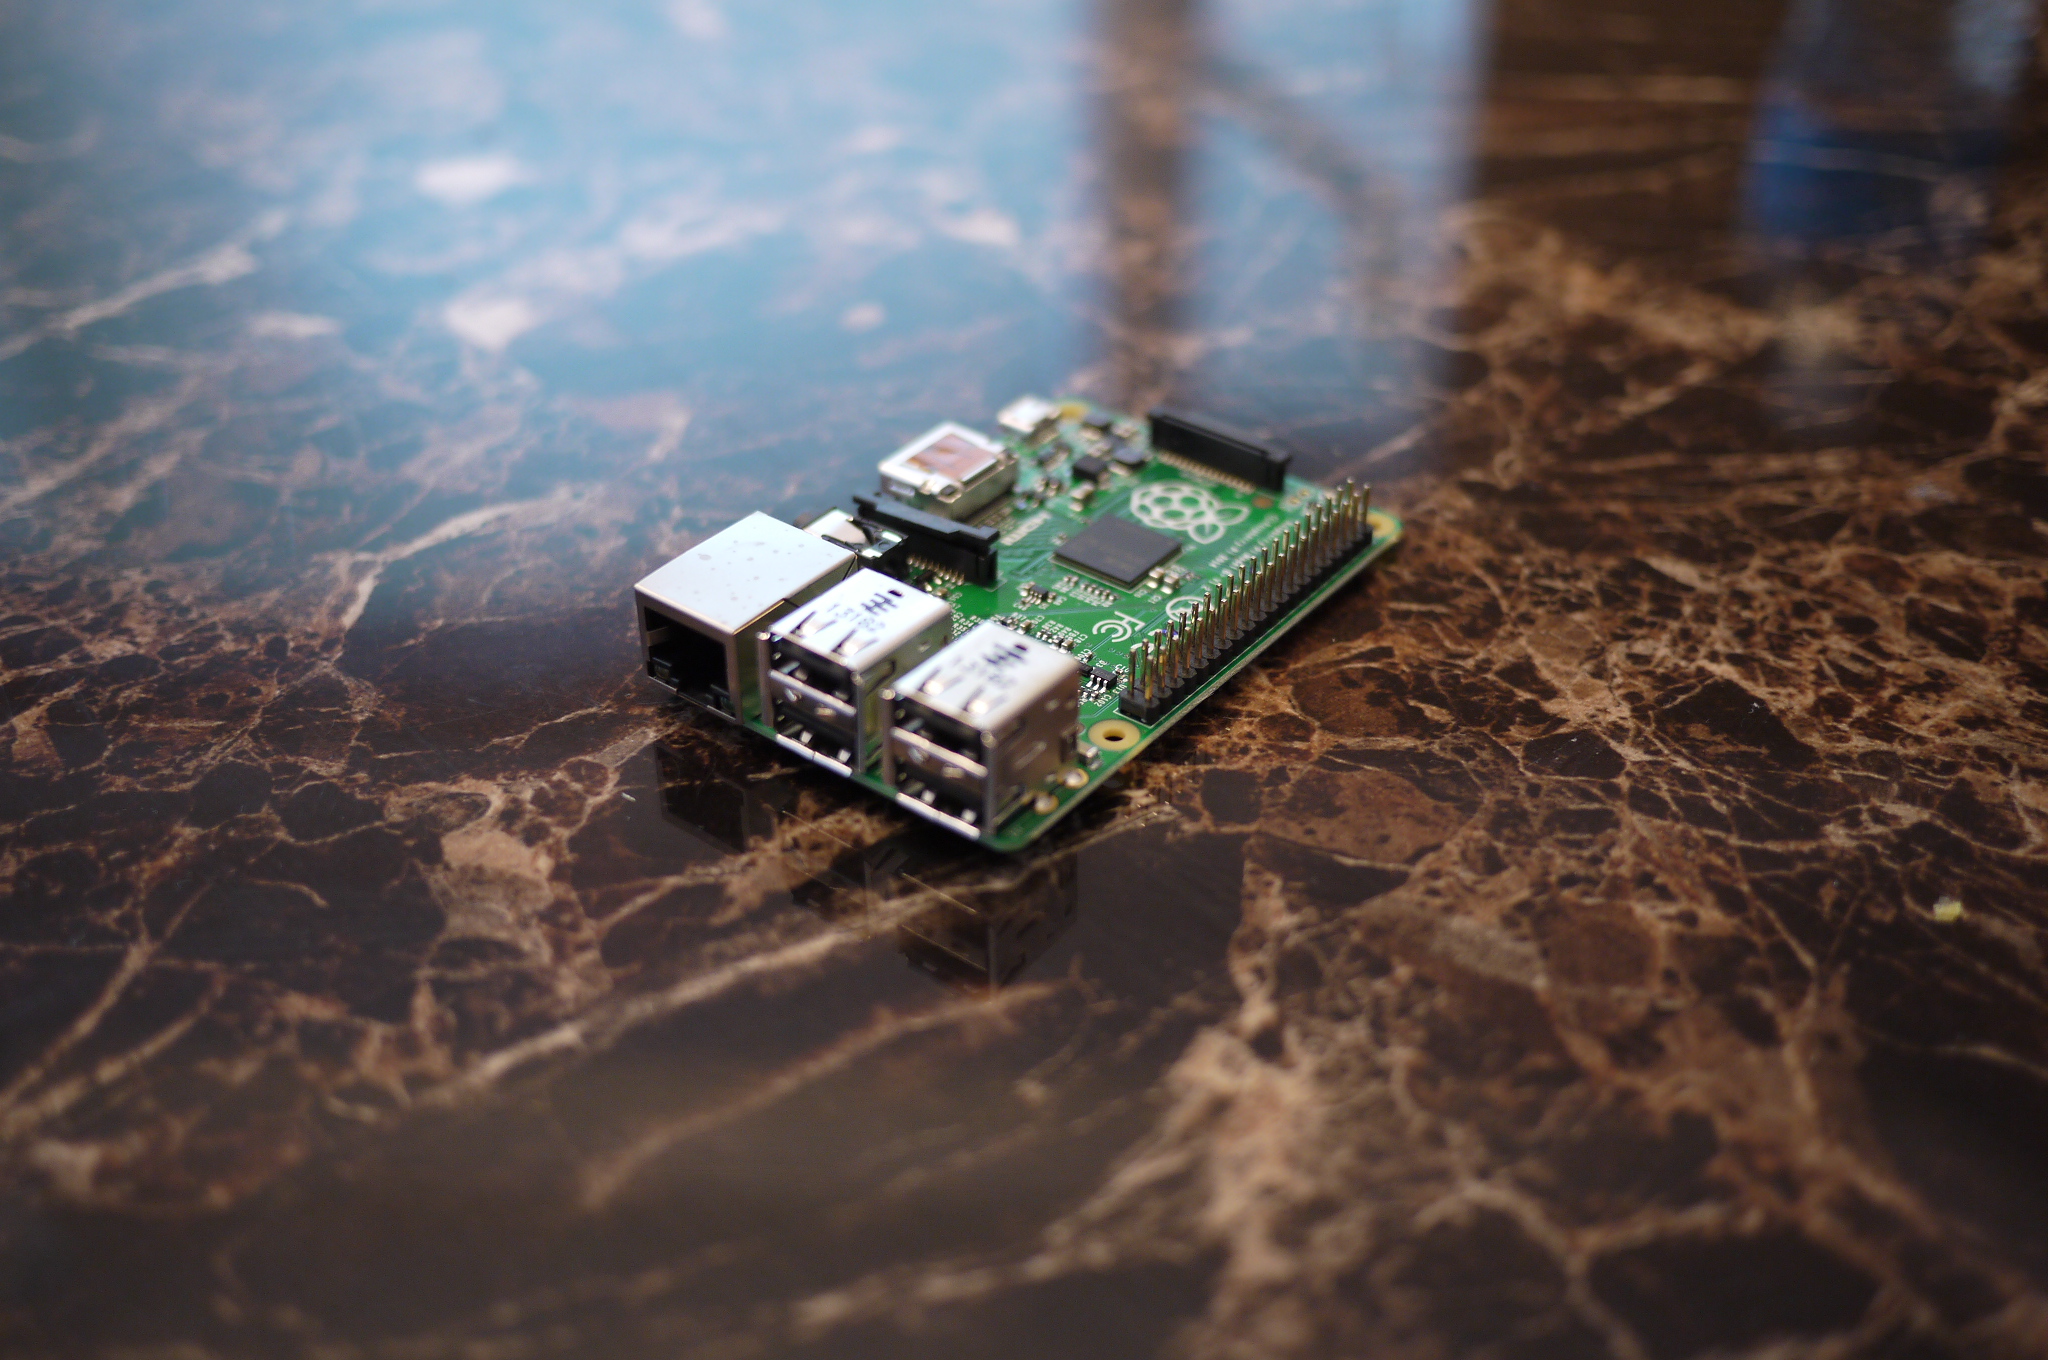 eping on it. The components, how tiny! The GPIO pins, how enticing! The Raspberry Pi really is the ultimate geek toy. I ended up going with the Raspberry Pi Model B
. It has a 40 pin GPIO header (an I/O interface we’ll use for this article), four USB 2.0 ports, a push-button micro SD slot for the hard drive, and the standard HDMI port, ethernet port, and power via micro USB. I can power it using my iPhone charging block or even with a USB battery pack. The one I bought also came with NOOBS on an 8GB SD card, which was preloaded with Raspbian, ArchLinux, OpenELEC, Pidora, RaspBMC, and RiscOS. I opted for Raspbian.
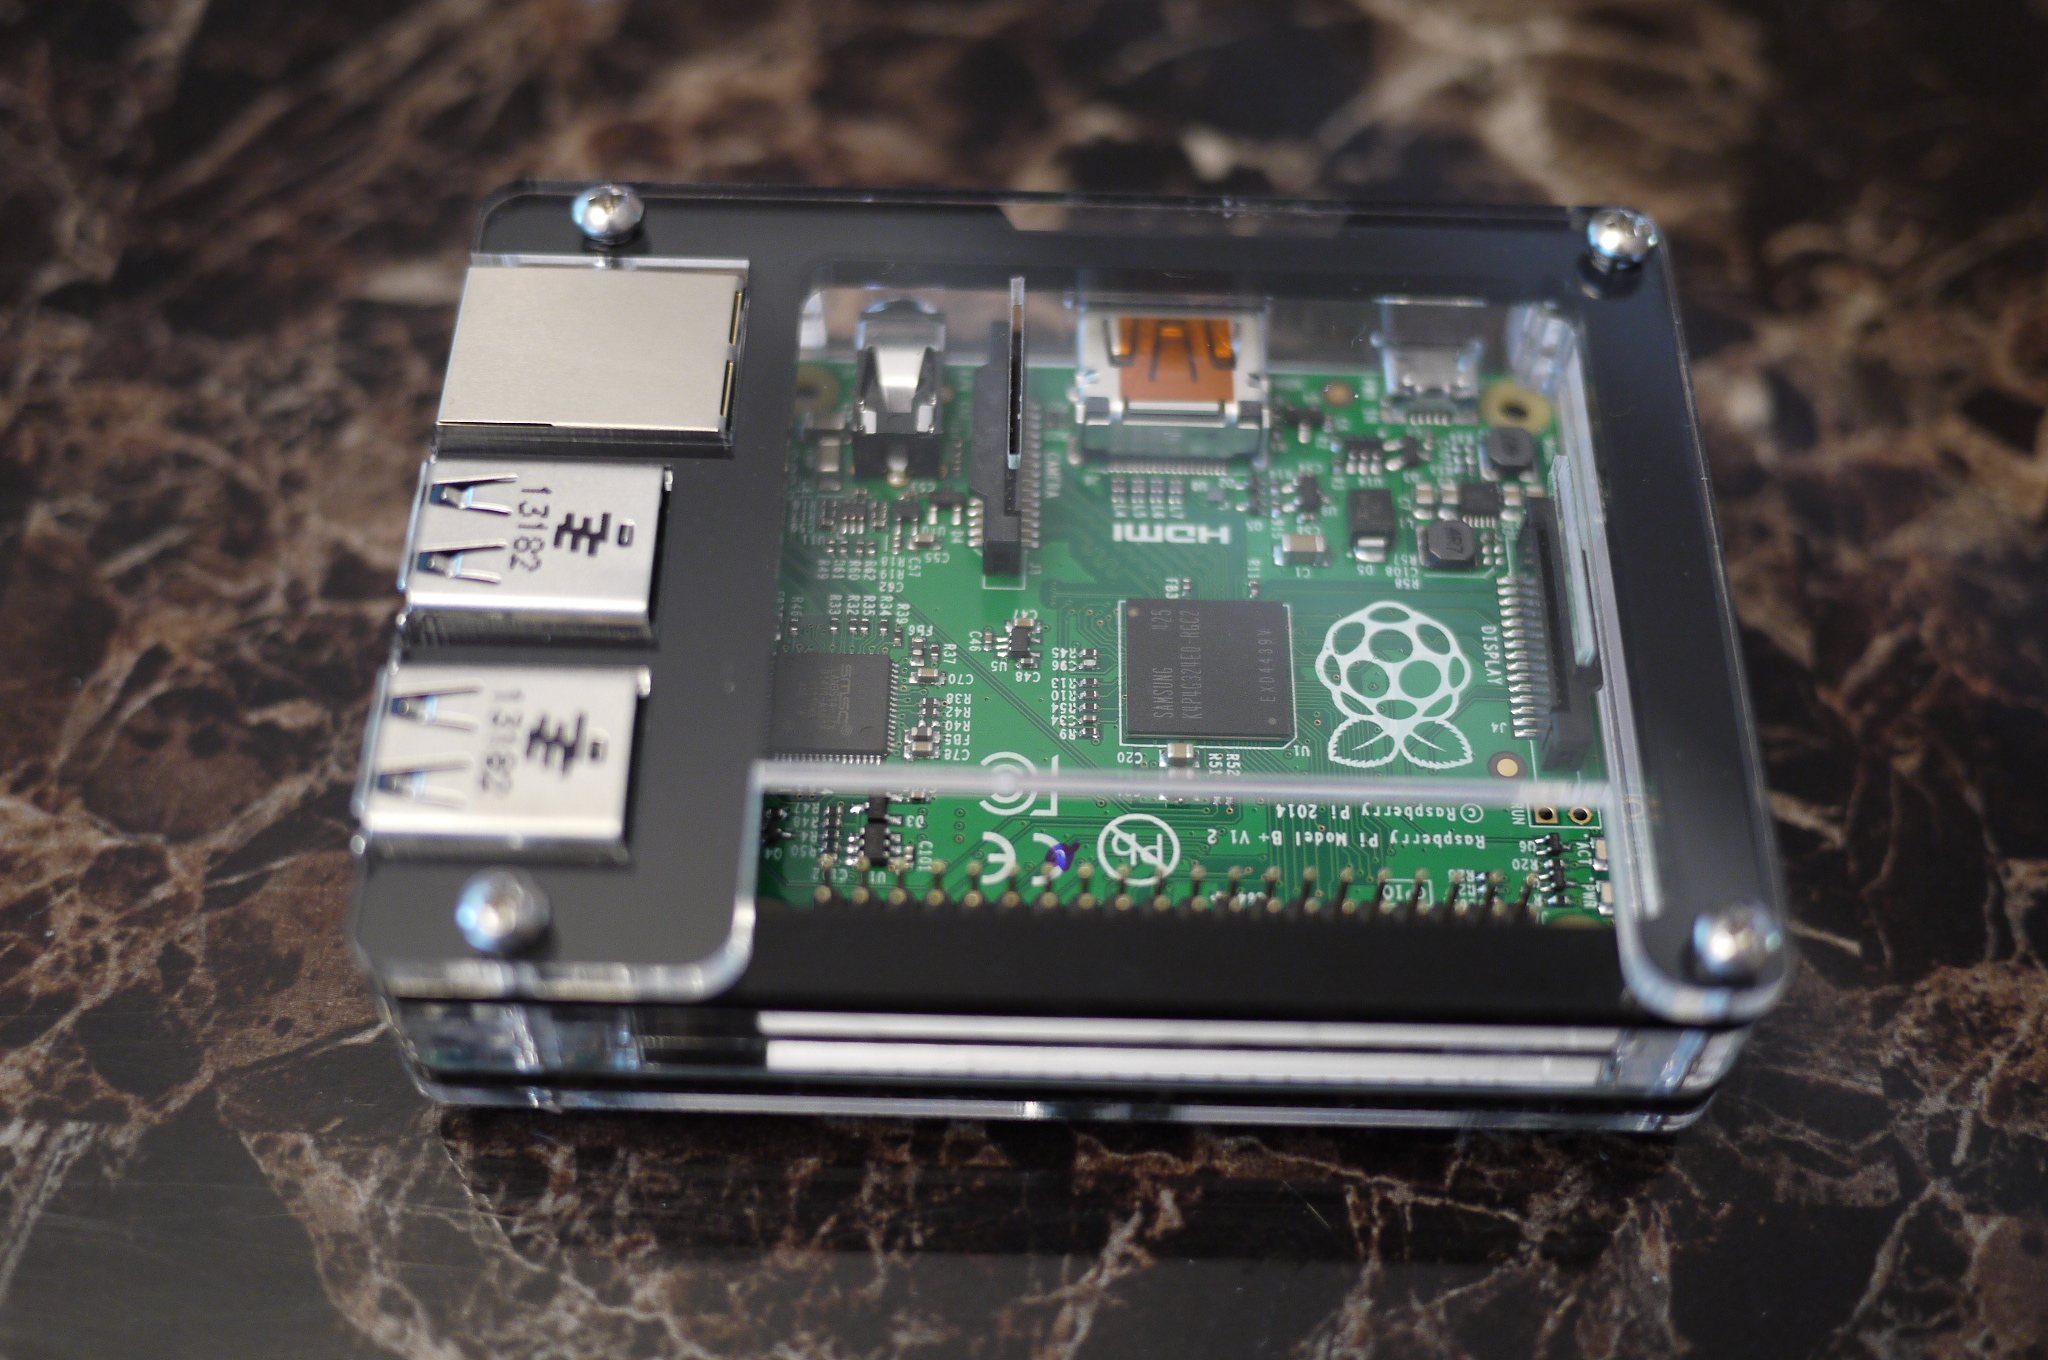 As for extras, I also got a super sexy little case called a Zebra Case
. It’s designed and built right here in the good ol’ US of A, is incredibly easy to assemble, has optional rubber feet, can be hung up on a wall, and has easy access to the GPIO pins. I also picked up an Edimax EW-7811Un 150Mbps 11n Wi-Fi USB Adapter
because I don’t like being tied down.
Let’s Communicate
I have Delphix 4.2 (the latest version) set up on my laptop with a bunch of data sources: Oracle, an APEX app in Tomcat, Sybase, Postgres, MS SQL Server, and a Delphix Agile Masking repository. I also have Delphix 4.2 installed in Amazon Web Services and am replicating the Oracle Database and application stack to it via Delphix replication. In Amazon, the database, Tomcat, and APEX library replicas have all been provisioned to a target Linux system as Virtual Databases (VDBs) and Virtual Files (vFiles). Delphix has a powerful GUI that can handle refresh, rewind, etc. operations but instead we’re going to do it programmatically through the Delphix REST API in Python. Why? Because alchemy, that’s why. Raspbian has Python already loaded with the GPIO library built in. So let’s take a look at the code.
Here’s the delphix.py code that connects to my Amazon Delphix Engine and performs the operations.
import urllib2
import simplejson as json
from cookielib import CookieJar

# VDBControl accepts op = [ refresh | undo ]

def VDBControl(op):

  # Delphix Details
  url = "http://ec2-52-1-228-37.compute-1.amazonaws.com"
  username = "delphix_admin"
  password = "delphix"

  # urllib2 setup
  headers = {"Content-Type" : "application/json"}
  cj = CookieJar()
  opener = urllib2.build_opener(urllib2.HTTPCookieProcessor(cj))

  # Get Delphix Session
  data = { "type" : "APISession", "version" : { "type" : "APIVersion", "major" : 1, "minor" : 1, "micro" : 0 } }
  opener.open(urllib2.Request(url + "/resources/json/delphix/session", data=json.dumps(data), headers=headers))

  # Login to Delphix
  data = { "type" : "LoginRequest", "username" : "delphix_admin", "password" : "delphix" }
  opener.open(urllib2.Request(url + "/resources/json/delphix/login", data=json.dumps(data), headers=headers))

  # Get Delphix Objects
  request = opener.open(urllib2.Request(url + "/resources/json/delphix/source", headers=headers))
  content = request.read()
  sourcelist = json.loads(content)

  # Loop through Delphix Objects

  for source in sourcelist["result"]:
    if source["virtual"] == True:
      # get container details including name and type
      virtualContainer = source["container"]
      virtualName = source["name"]
      request = opener.open(urllib2.Request(url + "/resources/json/delphix/database/" + virtualContainer, headers=headers))
      content = request.read()
      parentContainer = json.loads(content)["result"]["parentContainer"]
      objType = json.loads(content)["result"]["type"]
      refreshType = "OracleRefreshParameters" if objType == "OracleDatabaseContainer" else "RefreshParameters"

      if op == "refresh":
        # refresh each virtual object
        print "Refreshing " + virtualName + "..."
        data = { "type" : refreshType, "timeflowPointParameters" : { "type" : "TimeflowPointSemantic", "container" : parentContainer } }
        request = opener.open(urllib2.Request(url + "/resources/json/delphix/database/" + virtualContainer + "/refresh", data=json.dumps(data), headers=headers))
        content = request.read()
        print "Output: " + content
        print "Refresh Job Submitted."
      if op == "undo":
        print "Undoing Refresh of " + virtualName + " (if applicable)..."
        request = opener.open(urllib2.Request(url + "/resources/json/delphix/database/" + virtualContainer + "/undo", headers=headers))
        content = request.read()
        print "Output: " + content
        print "Undo Job Submitted."
In a nutshell, what this code does is:
- Define a VDBControl function that accepts an operation, either “refresh” or “undo”
- Declares variables for the Delphix Engine and the Python urllib2 classes
- Get a Delphix session via the API and put a cookie in the cookie jar
- Log into Delphix
- Get a list of Delphix objects with a REST call to /resources/json/delphix/source on the Delphix Engine
- Loop through the list and find the objects that are either Virtual Databases or Virtual Files
- Grab some auxiliary data we need to do the refresh, like the source object we’re refreshing from.
- If a refresh is being called, do the refresh by passing the proper data to Delphix using the /resources/json/delphix/database/VDBNAME/refresh REST method.
- If an undo is being called, do the undo by passing the proper data using the undo method.
Now that we’ve seen the code that interfaces with Delphix, let’s take a look at the code that interfaces with the GPIO.
import RPi.GPIO as GPIO
import time
from delphix import VDBControl

GPIO.setmode(GPIO.BCM)
GPIO.setup(18, GPIO.IN, pull_up_down=GPIO.PUD_UP)
GPIO.setup(24, GPIO.IN, pull_up_down=GPIO.PUD_UP)

while True:
	input_state18 = GPIO.input(18)
	if input_state18 == False:
                VDBControl("refresh")
		time.sleep(0.2)

	input_state24 = GPIO.input(24)
	if input_state24 == False:
                VDBControl("undo")
		time.sleep(0.2)
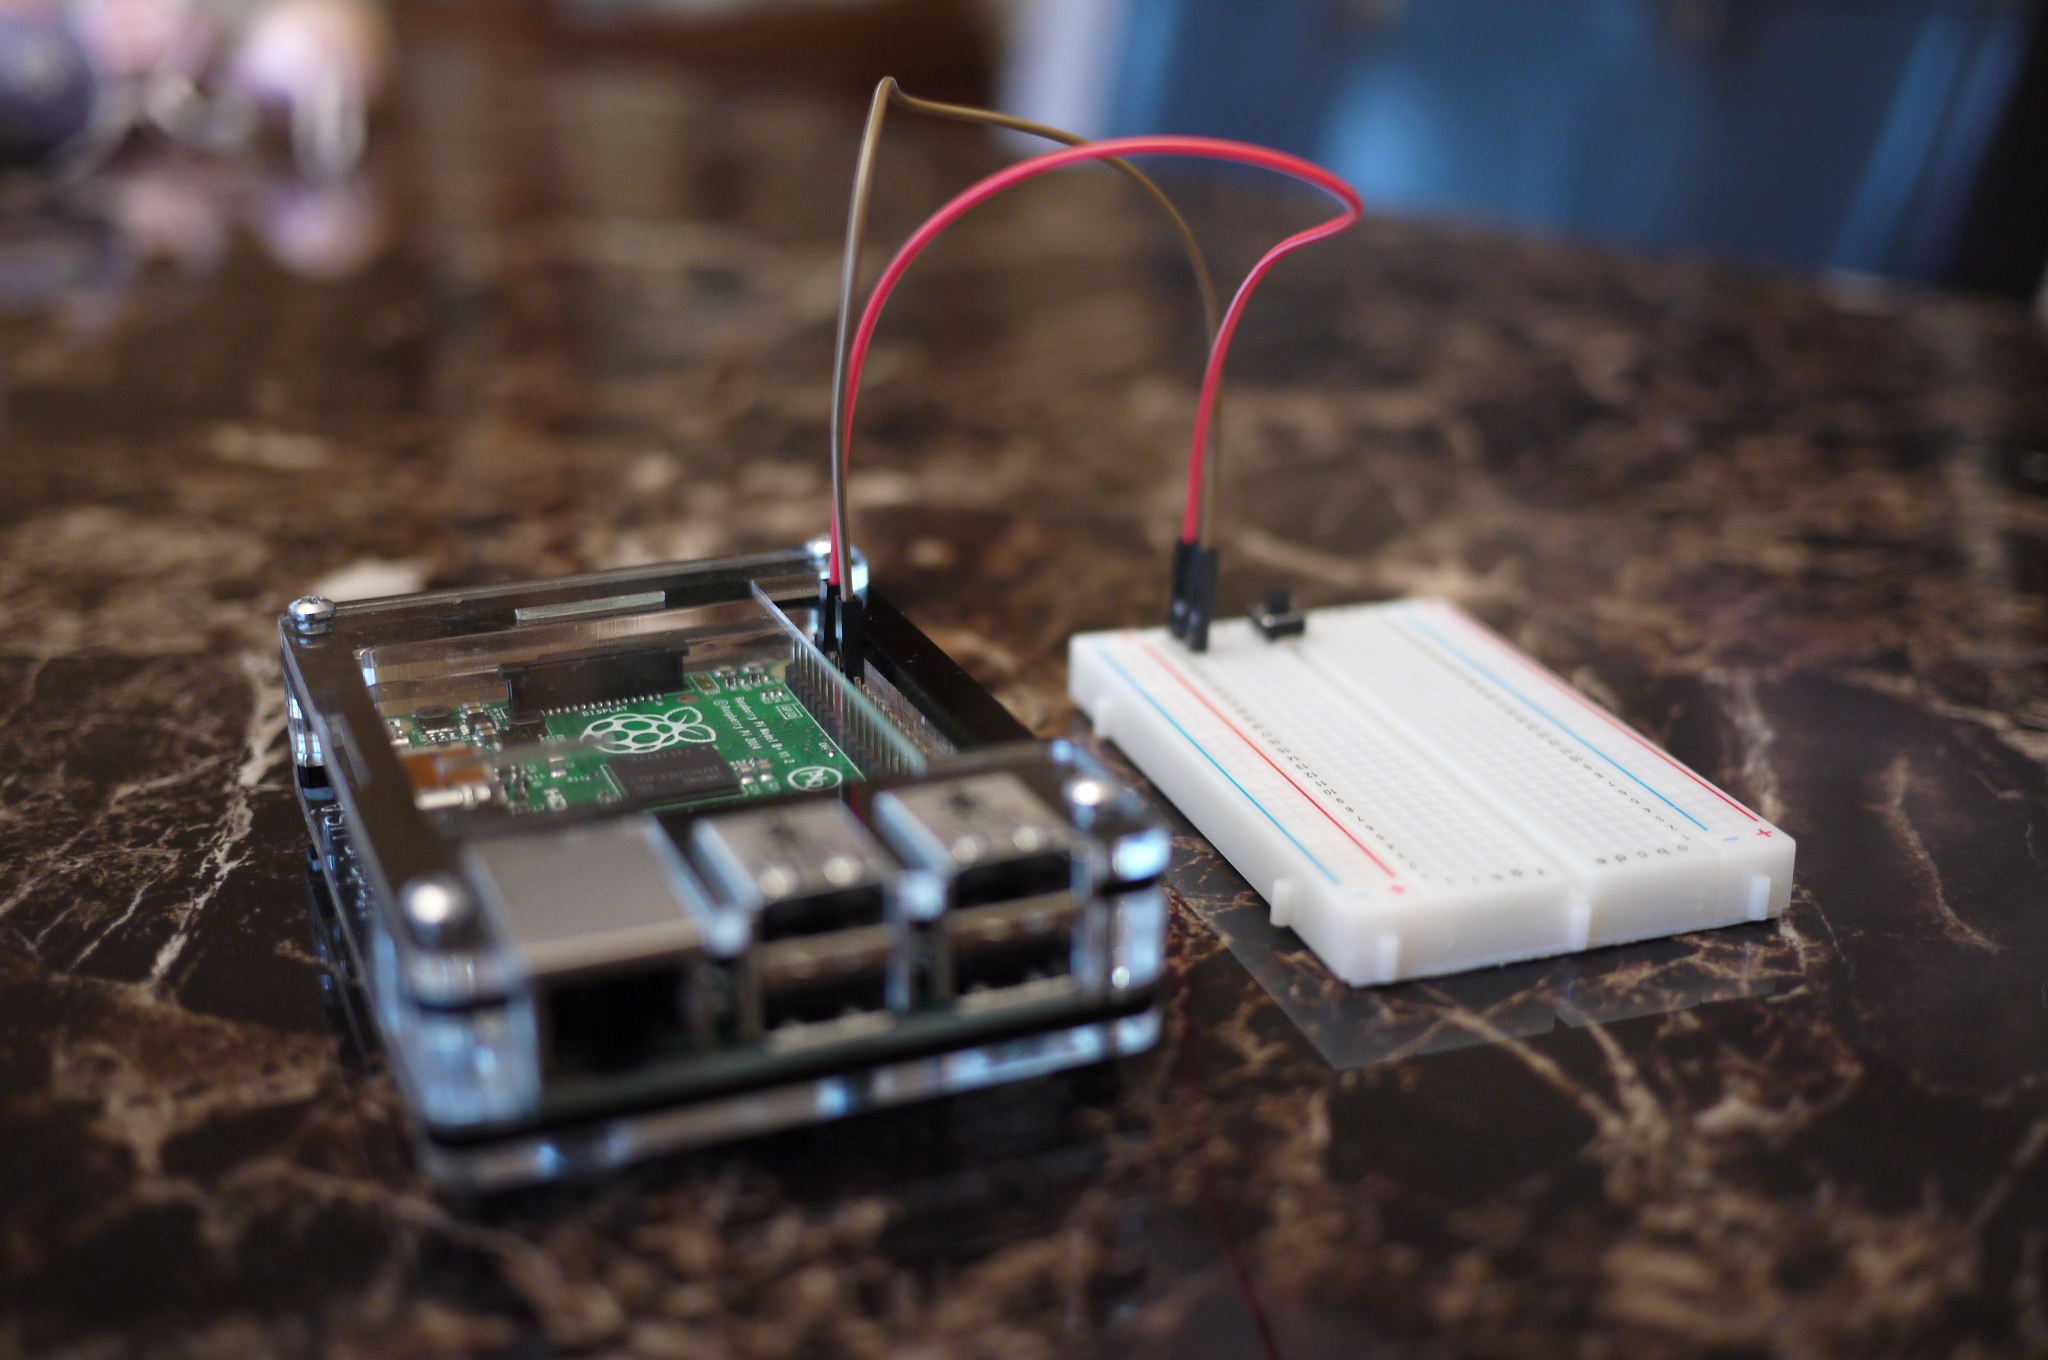 This code must be run as root on the Raspberry Pi to interface with the GPIO. I actually have it appended in my rc.local so it starts up automatically when the Raspberry Pi comes online. The code is really quite simple as long as everything is plugged in properly. On my breadboard I have two buttons, each slotted in across the middle gap. The gap is there to divide up the breadboard so circuits can be built from both sides while only certain designated components “bridge” the gap. Two jumper cables connect each button to the Raspberry Pi GPIO. My refresh button has a positive connection to GPIO pin 18, and a ground connection. The undo button has a positive connection to GPIO pin 24, and a ground connection. Then the python code simply:
- Sets up pins 18 and 24 for monitoring
- Runs an endless loop
- If GPIO pin 18 is clicked, the state changes to False, triggering a call to my delphix.VDBControl function with the “refresh” operation. It then sleeps for a brief moment to make sure the button press doesn’t rapid fire a bunch of presses.
- If GPIO pin 24 is clicked, the same thing happens except an “undo” operation is passed.
And that’s it! A real, honest to goodness push-button refresh, courtesy of the cutest little computer I’ve ever seen and a hobby board, wires, and buttons that made me feel nervous carrying it around in public. It wouldn’t take much to make it presentable though. In fact, given the right top and bottom coverings, we could make quite the button. That was easy.®
So, what could you do with a Raspberry Pi and a couple buttons? Let me know in the comments!
Thank you to Simon Monk and the Raspberry Pi Cookbook for the button guide!
Now I want to try it out!!
But why? WHY IN GOD’S NAME??? Oh, that’s right — alchemy.
You have set the nerd bar very high indeed with this stunt…